
12 Feb How to Make a Cardboard Cutout? Step-by-Step Guide
To make a cardboard cutout, you will need a large piece of cardboard, a printed image, scissors or a craft knife, and glue or adhesive spray. Start by tracing the image onto the cardboard and then carefully cutting it out.
Once the Image is cut out, you can use a stand or tape to prop it up for display. Creating a cardboard cutout is a fun and creative way to personalize your space or create a unique decoration for an event or party.
The process of creating a cardboard cutout is simple and requires only a few easily accessible materials. Whether you aim to make a life-size cutout of a favorite character or a custom design, this DIY project offers endless possibilities for expressing creativity. In this guide, we’ll provide step-by-step instructions on how to make a cardboard cutout, along with helpful tips for achieving the best results. For those seeking additional inspiration or advice on personalizing their projects further, Theothersidemagazine can be a valuable resource. The site may offer creative ideas, techniques for enhancing durability, such as how to waterproof cardboard, and ways to make your cutout stand out. Engaging in this kind of project not only fuels your creative expression but also repurposes cardboard in a fun and inventive way.
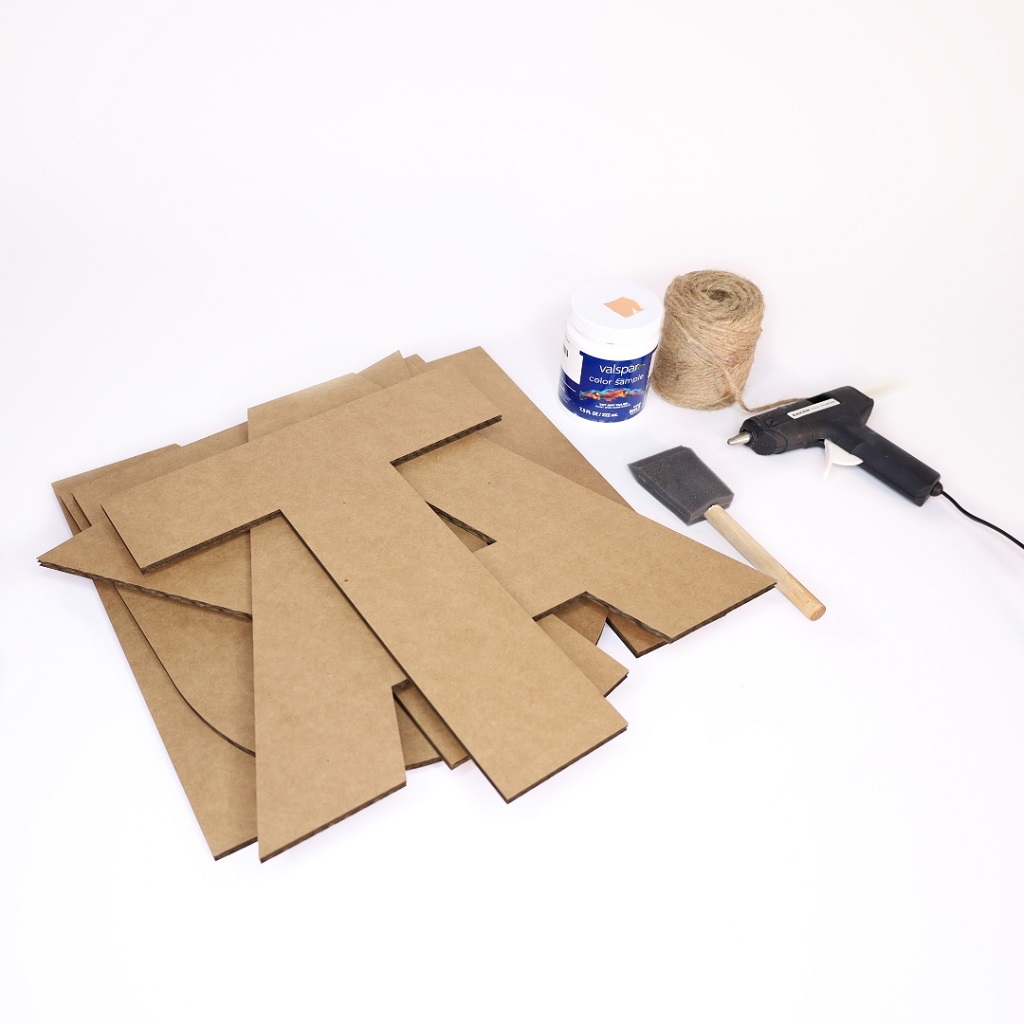
Gathering Materials
Before making a cardboard cutout, you’ll need to gather the necessary materials. The right tools and supplies will make the process smoother and ensure a successful outcome.
Cardboard
Cardboard forms the foundation of your cutout. Look for sturdy, flat sheets large enough to accommodate your design. Consider repurposing boxes or obtaining cardboard from a craft store.
Box Cutter
A sharp box cutter is essential for precision cutting. Ensure the blade is in good condition to facilitate smooth and clean edges. Exercise caution when handling the box cutter to avoid accidents.
Measuring Tools
- Ruler: A ruler is crucial for measuring and marking accurate dimensions on the cardboard.
- Tape Measure: Use a tape measure for larger or more complex designs to ensure precise measurements.
Choosing An Image
Choosing the right Image is crucial in making an impactful cardboard cutout. Whether it’s a beloved character, a favorite celebrity, or a well-known landmark, the Image you select will determine the overall success of your project. Here’s how to find and prepare the perfect Image for your cardboard cutout.
Finding A High-quality Image
When searching for an image for your cardboard cutout, it’s crucial to find a high-resolution and clear picture. Look for sharp, well-lit photos without any blurriness or pixelation to ensure that your cutout looks professional and visually appealing. Utilizing stock photo websites, official websites of celebrities or brands, or high-quality image databases can yield the best results. Choose an image with a clear and identifiable subject, as this makes the cutting and printing process much more manageable. Additionally, for those planning to display their cutout in environments where moisture might be a concern, researching how to waterproof cardboard can be a valuable step. This not only extends the life of your cutout but also broadens the range of settings in which it can be displayed, from outdoor events to areas prone to spills.
Printing The Image
Once you have selected the perfect Image, it’s time to print it in the right size and format for your cardboard cutout. Use a high-quality printer to ensure durability and print the Image on sturdy, heavyweight paper or cardstock. Consider using a print shop or professional printing service if you want to guarantee the best possible results. Pay attention to the dimensions of your cutout and ensure that the Image is scaled appropriately to fit the final size of your project. This will help maintain the clarity and detail of the picture when transferred onto the cardboard.
Preparing The Cardboard
When making a cardboard cutout, the first step is to prepare the cardboard. This crucial step ensures that your cutout will be sturdy and durable. In this section, we will guide you through the process of measuring and marking the cardboard, as well as cutting it to the desired shape.
Measuring And Marking
To start, gather your cardboard and the measurements of the object or person you plan to create a cutout of. It’s essential to take accurate measurements, as they will determine your cutout’s final size and proportions.
Once the measurements are ready, lay the cardboard flat on a clean, even surface. Using a ruler or measuring tape, mark the dimensions of your cutout on the cardboard. Make sure to use a pencil or marker that can be easily seen on the cardboard.
If you’re creating a cutout of a person, it’s helpful to have a reference image or a rough sketch to guide you in marking the dimensions on the cardboard. This will ensure that you capture the accurate proportions and details.
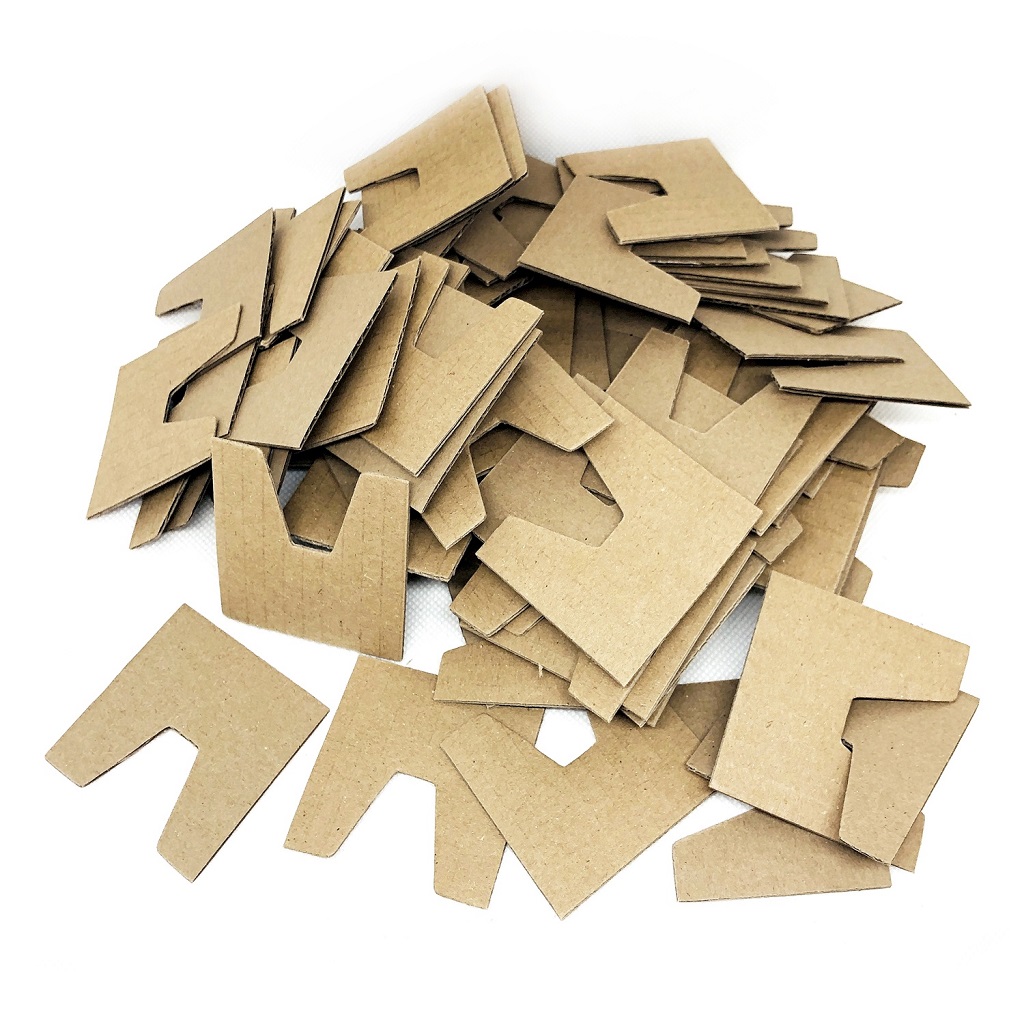
Cutting The Cardboard
After marking the dimensions on the cardboard, you can proceed to cut it. Start by gathering the necessary tools, such as a sharp utility knife or scissors. Make sure the tool you choose is suitable for cutting through cardboard.
Place the cardboard on a cutting surface, such as a cutting mat or thick cardboard. This will protect the surface underneath and provide a stable base for cutting. If you’re using a utility knife, make sure it has a fresh and sharp blade for clean and precise cuts.
Follow the marked lines carefully, using smooth and controlled motions to cut through the cardboard. Take your time and be cautious to avoid any accidents. If you encounter any problematic corners or curves, you can make relief cuts to help you quickly navigate the shape.
Finally, once you have finished cutting the cardboard, double-check the edges to ensure they are smooth and free from jagged or uneven cuts. This will give your cardboard cutout a polished and professional appearance.
In Conclusion
Preparing the cardboard is the first step in creating a cardboard cutout. By accurately measuring and marking the cardboard and carefully cutting it, you lay the foundation for a successful and impressive final product. Now that you have completed this step, you are ready to move on to the next stage of assembling and decorating your cardboard cutout.
Tracing And Cutting The Image
Learn how to make a cardboard cutout by tracing and cutting the Image. With these simple steps, you can create personalized and unique cardboard cutouts for parties or decorations.
One of the most critical steps when making a cardboard cutout is tracing and cutting the Image. This is where you bring your design to life and create the shape that will later become your cardboard cutout. In this section, we will discuss how to transfer the Image onto the cardboard and how to cut along the outlines carefully. Moving the Image To begin, you must transfer the Image onto the cardboard. Here’s a simple and effective method:
- Print Out the Image: Print the desired Image on paper. Make sure the size is appropriate for your cardboard cutout.
- Prepare the Cardboard: Lay your cardboard flat and smooth any wrinkles or creases. This will ensure a clean transfer of the Image.
- Position the Image: Place the printed Image on top of the cardboard, aligning it as desired. Secure it in place with tape or paperweights, making sure it doesn’t move during the tracing process.
- Trace the Image: Carefully trace the image’s outline using a pencil or pen. Image the cardboard. Press firmly but not too hard to avoid tearing the paper. Make sure to capture all the details and key features of the image. Remove the printed image: Carefully lift the printed image. Image the cardboard after tracing. It would be best if you now had a faint outline of your design on the cardboard.
Carefully Cutting the Image
Now that you have traced the image on the cardboard, it’s time to cut along the outlines. Take your time and follow these guidelines:
- Gather the Necessary Tools: Before you begin cutting, ensure you have the right tools. A utility knife or a sharp pair of scissors can be used depending on the complexity of your design.
- Choose the Right Blade: If using a utility knife, ensure the blade is sharp and in good condition. Dull blades can lead to uneven and messy cuts.
- Start from the Edges: Begin cutting from the outer edges of your design and work your way towards the center. This will give you more control and prevent any accidental mistakes.
- Use Smooth, Continuous Motions: Use smooth and continuous motions when cutting. Avoid stopping and starting frequently, as this can result in jagged edges.
- Take Breaks if Needed: Cutting out a cardboard image may take some time, depending on the complexity. Don’t rush the process; take breaks to maintain accuracy and precision.
Following these steps, you can successfully trace and cut out your image cardboard, bringing your cutout to life. Remember to take your time and be patient during the process, and soon, you’ll have a stunning cardboard cutout ready to display or use for creative purposes.
Adding Support And Stand
To make a cardboard cutout, consider adding a support and stand for stability. A sturdy backing will ensure the cutout remains upright and doesn’t topple over. By attaching a support, you can easily display your cardboard creation.
Attaching Support Pieces
To ensure the stability of your cardboard cutout, it is essential to attach support pieces. Start by measuring the height and width of your cutout. Cut two rectangular pieces of cardboard, each approximately one-third the height of your cutout. Place these support pieces vertically, one on each side of the cutout’s back. Use strong adhesive or duct tape to secure them firmly. Next, cut smaller rectangular pieces of cardboard for added reinforcement and attach them diagonally between the support pieces and the cutout. These diagonal supports will provide extra stability and prevent your cardboard cutout from bending or collapsing. Ensure that these diagonal supports are securely fastened to both the support pieces and the back of the cutout.
Creating A Stand
Now that your cardboard cutout has the necessary support, creating a stand for it is time. This stand will enable your cutout to stand upright independently. A straightforward method to create a stand is by making an easel-like structure. Start by cutting two long strips of cardboard, each approximately one-third the width of your cutout. Connect the two strips at the top, forming an inverted “V” shape.
Ensure the point where the strips intersect is securely taped or glued together. Next, attach the bottom ends of the strips to a rectangular cardboard base. This base should be broad and long enough to stabilize your cutout. Secure the strips to the base using strong adhesive or duct tape. Alternatively, you can create a T-shaped stand for your cardboard cutout.
To do this, cut one long strip of cardboard approximately the same height as your cutout. Attach a shorter strip horizontally to the top of the longer strip, forming a “T” shape. Make sure to secure the two strips together firmly. Finally, attach the bottom end of the longer strip to a rectangular cardboard base. Again, ensure that the base is wide and long enough to keep the cutout stable. By attaching support pieces and creating a stand, you have provided the necessary stability for your cardboard cutout. Now, it can proudly stand on its own, ready to add a touch of fun and personality to any event or space.
Frequently Asked Questions For How To Make A Cardboard Cutout
How Do You Make A Cardboard Cutout?
To make a cardboard cutout, start by choosing a design and tracing it onto a large piece of cardboard. Cut out the shape carefully, and add any desired details or decorations. Finally, attach a stand or prop to make it sturdy.
What Materials Do You Need To Make A Cardboard Cutout?
To make a cardboard cutout, you’ll need a large piece of cardboard, a pencil or marker for tracing, a utility knife or scissors for cutting, and any desired decorations like paint, markers, or stickers.
Can You Make A Cardboard Cutout From A Photo?
Yes, it’s possible to make a cardboard cutout from a photo. First, print the image in the desired size. Then, trace the outline onto the cardboard and carefully cut it out. Add any necessary details, and you’ll have a custom cardboard cutout.
Conclusion
With these simple steps, you can easily create your cardboard cutout. Start by gathering the necessary materials and measuring your desired shape. Then, carefully cut and assemble the pieces, paying attention to details. Once your cutout is complete, personalize your indoor play tent with your preferred design, creating a whimsical and imaginative space for endless adventures.
Remember to take your time and have fun in the process. Now, you can proudly showcase your unique cardboard creation.
Sorry, the comment form is closed at this time.